Floating shelves provide a contemporary, minimalist storage solution that maximizes space and style. This article dives into the world of DIY floating shelves, from design concepts and practical uses to the essential components like floating shelf brackets and materials. Discover how to create your own diy wall shelf with sturdy, invisible supports and enhance your home’s functionality and aesthetics.
The Appeal and Functionality of Floating Shelves
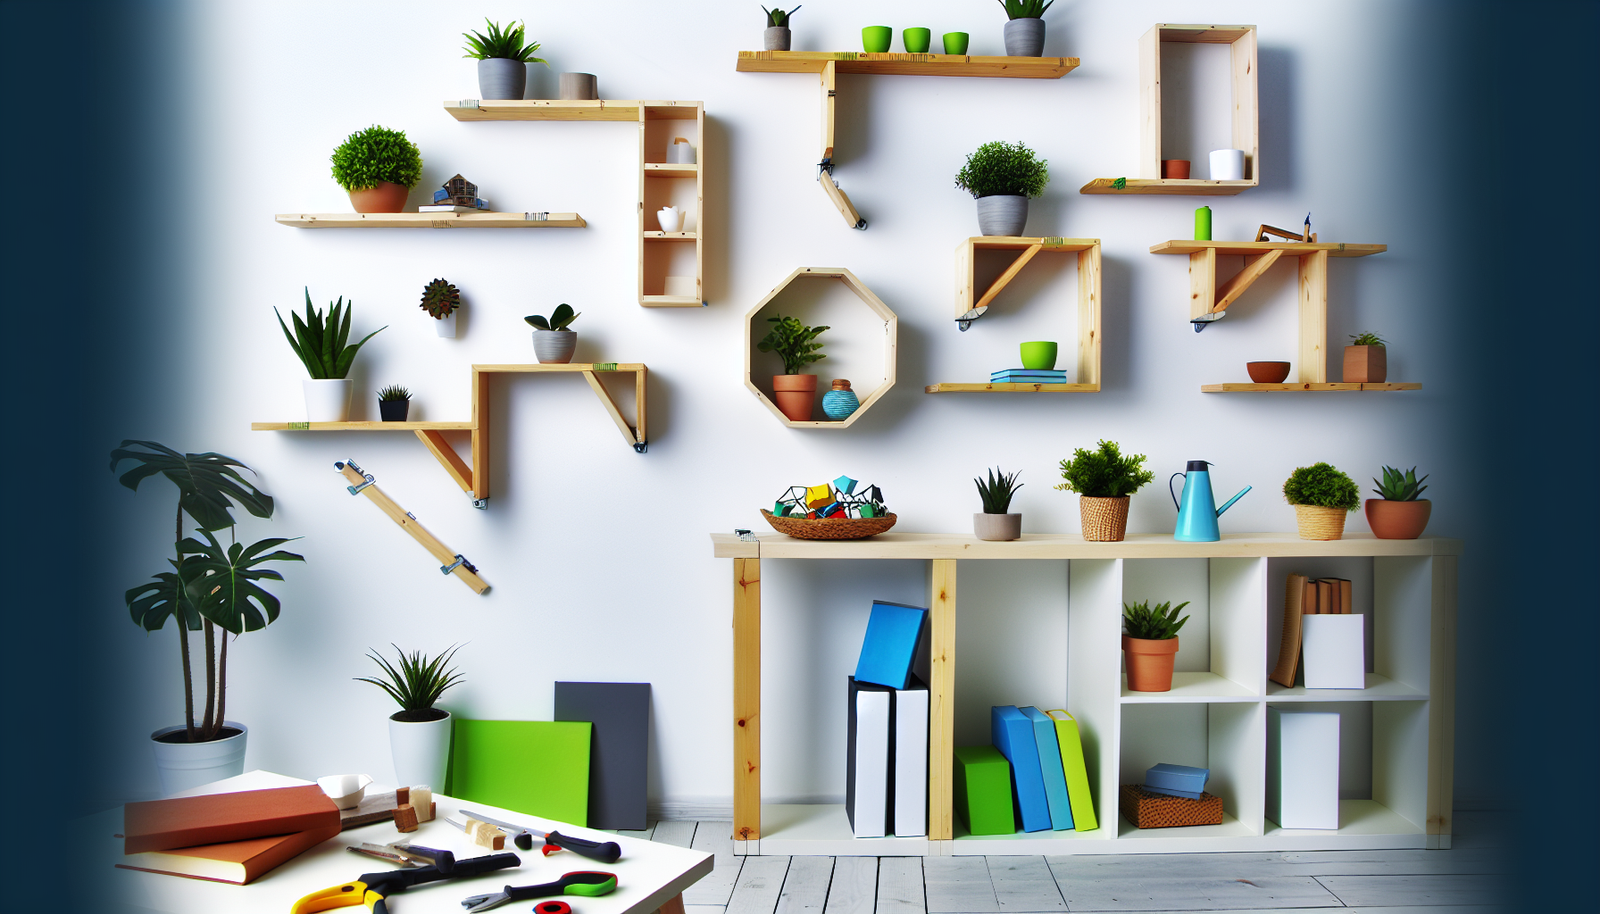
Floating shelves are instantly recognizable by their streamlined appearance and the illusion that they float on the wall without any support. The defining characteristic of a floating shelf is the complete absence of visible brackets or hardware, thanks to specially designed floating shelf brackets and wall fixings that remain hidden within the shelf itself. This inventive mounting method creates a seamless, modern look that distinguishes floating shelves from more conventional shelving with bulky side brackets or braces.
While the clean look of the floating shelf may seem like a recent innovation, the roots of the concept can be traced back to mid-century modern design, where the pursuit of uncluttered lines and functional minimalism first gained popularity. In recent years, floating shelves have enjoyed a resurgence as both a staple of contemporary home design and a favorite among DIY enthusiasts. Their appeal lies in their ability to adapt to a wide range of interior styles, from Scandinavian and industrial-chic to bohemian and classic farmhouse.
Among the many advantages floating shelves offer, the aesthetic benefits are immediately apparent. The minimalist style allows them to complement virtually any decor, supporting decorative objects, books, or kitchen essentials while keeping the wall space visually open and airy. From a functional standpoint, floating shelves maximize storage in otherwise underutilized spaces. Their invisible supports make them perfect for creating overhead storage, corner shelving, or using narrow wall areas that would be impossible to fit with traditional shelving. In small rooms or apartments, floating shelves free up valuable floor space and help create the impression of a larger, less cluttered environment.
The versatility of floating shelves is further enhanced by the vast range of sizes, shapes, and configurations possible, as well as the DIY customization options available for brackets and installation, giving homeowners endless ways to tailor their shelving to unique storage and style needs.
Materials and Tools for DIY Floating Shelf Projects
Floating shelves can be crafted from a variety of materials, each offering distinct benefits in terms of strength, style, and overall functionality. The most popular choice, solid wood, is loved for its warmth and natural grain, easily customized with different finishes to match your décor. Hardwoods like oak, walnut, and maple provide higher weight capacity and durability, while softwoods like pine are more budget-friendly but can be prone to warping under heavy loads. Bamboo shelves deliver an eco-friendly, modern look and boast surprising strength for their weight, making them suitable for sustainable design schemes. For industrial or minimalist interiors, steel floating shelves or brackets create a bold statement and offer unmatched support for heavier items, such as large books or kitchenware. Glass shelves, on the other hand, lend a sleek and airy appearance but require precise mounting techniques and reinforced brackets to ensure safety. Repurposed materials—old doors, salvaged planks, even vintage skateboards—can infuse character and sustainability into your shelving project but may require extra work to achieve smoothness and stability.
Your choice of material will not only affect visual appeal but also directly impact the shelf’s weight capacity. Heavier materials and items demand robust and reliable floating shelf brackets. Standard DIY floating shelf brackets are engineered from steel rods or plates, concealed inside the shelf, distributing load along the wall stud for maximum support. DIY enthusiasts sometimes fabricate custom brackets or cleat systems for unconventional shelf sizes or shapes.
Essential tools and supplies for a floating shelf project include a power drill and appropriate drill bits, a saw for cutting material to length, a spirit level (crucial for precision), tape measure, stud finder, and heavy-duty wall anchors or screws. Sandpaper or a power sander is necessary for smoothing rough edges, while safety goggles, gloves, and a dust mask protect you during cutting and drilling. Always check that your fasteners match both your wall type and the weight demands of your chosen shelving material.
Step-by-Step Guide to Building and Installing DIY Floating Shelves
Begin your DIY floating shelf project by carefully measuring your wall space and determining the intended use for your shelves. Account for both the available width, height, and the depth needed for items you plan to display or store. Sketch your desired design, noting shelf length and thickness, as well as the placement and number of shelves for balance and function.
Select materials according to your plans, taking into account the guidance from the previous chapter on material properties. Mark and cut your shelf boards to size, double-checking that cuts are straight for a professional look. For a classic floating shelf structure, where the shelf slides over a hidden internal frame, cut two sets of boards: one for the shelf exterior and another thinner piece for the internal cleat or bracket. For standard brackets, you may only need the shelf board itself.
Drill pocket holes or use wood glue and finish nails to assemble the shelf body, ensuring robust corners and a snug fit for your chosen bracket type. Sand all surfaces thoroughly to eliminate splinters and round edges either by hand or with a power sander. Apply your chosen finish—such as stain, transparent oil, or paint—letting each coat dry fully and sanding lightly between coats for the smoothest result.
Use a stud finder to accurately locate wall studs—this step is crucial for distributing weight and ensuring the shelf remains stable. Mark bracket positions on the wall, confirming alignment with a level. Pre-drill pilot holes for your floating shelf brackets or cleats into the studs, secure them with robust screws, and re-check levelness. Slide the finished shelf over the mounted bracket or cleat, making sure it fits snugly. Secure the shelf in place from below or behind as necessary, keeping it level and flush with the wall for a polished, custom look.
Understanding Floating Shelf Brackets and Custom DIY Alternatives
A floating shelf’s magic lies in its ability to appear as if it’s hovering with no visible hardware. This is made possible by floating shelf brackets, specialized supports designed to be hidden within the shelf itself. The key types include traditional hidden rod brackets, T-brackets, and French cleats. Each utilizes a different method for both concealment and strength, and the choice impacts your shelf’s look, stability, and load capacity.
Hidden rod brackets are a common commercial option. These consist of solid steel rods or sleeves anchored into wall studs, with the rods sliding into deep holes drilled into the rear edge of the shelf. This configuration provides sturdy, nearly invisible support ideal for deep or heavy-duty shelves, provided the rods are long and thick enough to bear the load. T-brackets, shaped like a “T,” offer additional resistance against downward and twisting forces, making them excellent for wider shelves or installations where lateral stability is critical.
A French cleat system uses two interlocking angled boards: one secures to the wall, and the other to the shelf. This method distributes weight evenly along the wall and allows for easy removal or repositioning—a practical choice for reversible or adjustable shelving.
Beyond commercial options, crafting custom DIY floating shelf brackets can be both economical and customizable. DIYers often use threaded rods or heavy-duty lag bolts embedded in the wall, paired with carefully matching bores in the shelf. For lighter loads or decorative shelves, wood cleats or pocket hole joinery might suffice. When choosing between off-the-shelf versus DIY brackets, consider your shelf’s depth, the nature of your wall (drywall, plaster, masonry), and how much weight you expect the shelf to bear. Always prioritize safety and longevity over convenience, ensuring your chosen method is up to the task for your specific shelving needs.
Creative Ideas and Common Mistakes in DIY Wall Shelf Projects
Bringing your own flair to a floating shelf project allows limitless creativity and tailored organization for any space. Consider installing corner floating shelves to utilize often-overlooked wall space; these are perfect for displaying décor in kitchens or living rooms while maximizing storage efficiency. Industrial pipe shelving offers a unique contrast when blended with wood planks or reclaimed boards, adding character ideal for lofts or modern spaces. Integrated LED lighting in floating shelves elevates ambiance and usefulness—try underlighting in the kitchen for extra workspace illumination, or highlight collectibles in a living room or hallway. Multi-tier arrangements can turn blank stretches of wall into eye-catching storage—arrange staggered lengths above desks or as a bookshelf alternative in a home office or bedroom.
When planning your DIY wall shelf, thoughtfully assess your storage needs alongside aesthetics. For kitchens, use wider and deeper shelves for spice jars or dinnerware, while in bathrooms, opt for shallower options to hold toiletries without crowding limited space. Curate the shelf width and materials to match the room’s style, using matching finishes or unexpected contrasts for visual interest. Ensure that the floating shelf brackets or custom supports are discreet, preserving the sleek, “floating” illusion without compromising structural integrity.
Common mistakes can undermine even the most creative designs. Avoid mounting shelves solely with drywall anchors; heavy items require brackets anchored directly into wall studs for strength and safety. Refrain from using generic hardware—select fasteners and floating shelf brackets rated for your intended load. Double-check bracket alignment during installation for even shelves and secure mounting. Don’t overload—calculate your shelf’s weight limits based on bracket spacing and wall type, leaving a margin for safety. Small errors in planning and execution can detract from both beauty and practicality, so careful preparation and attention to these details ensure stunning, long-lasting results.
Conclusions
DIY floating shelves are an ideal project for combining practical organization with modern home aesthetics. By understanding materials, shelf construction, and hidden bracket systems, anyone can create stunning wall shelves that enhance any space. Careful design and installation ensure sturdy, visually appealing results—making floating shelves a rewarding and transformative DIY addition to any home.